Patient Portal: Quick Patient Registration (IN OFFICE ONLY)
There are 2 ways to register patients for the patient portal in AdvancedMD. This quick method is best for when you wish to register the patient so they may log into the portal while in your office.
*This still requires an e-mail address, but does not require the patient to check their e-mail to register for the portal. It does not, however, send the patient a message telling them that they are registered. DO NOT use this method if the patient will be expected to register from home.
*You will not be able to use this method of registration if the patient is already registered for the portal.
1. In the AdvancedMD Practice Management system, click the patient button ( ) and select the patient you wish to register. From the appointment scheduler, you can select the patient and then click the Edit button.
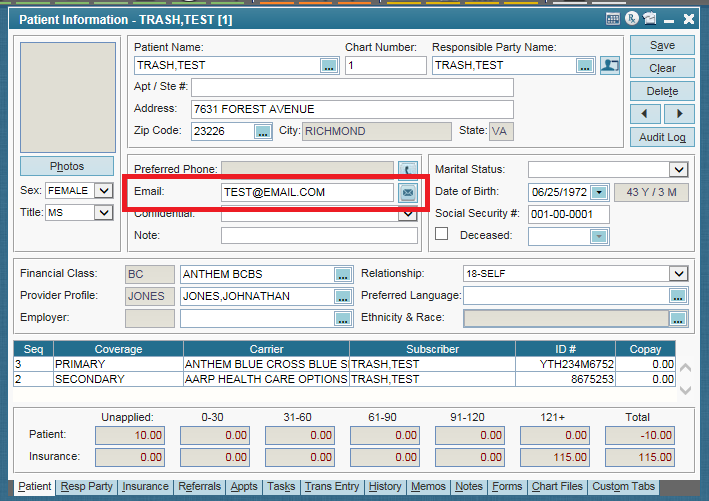
2. In the E-mail section of the Patient Information screen, enter the patient's e-mail address and then click "Save".
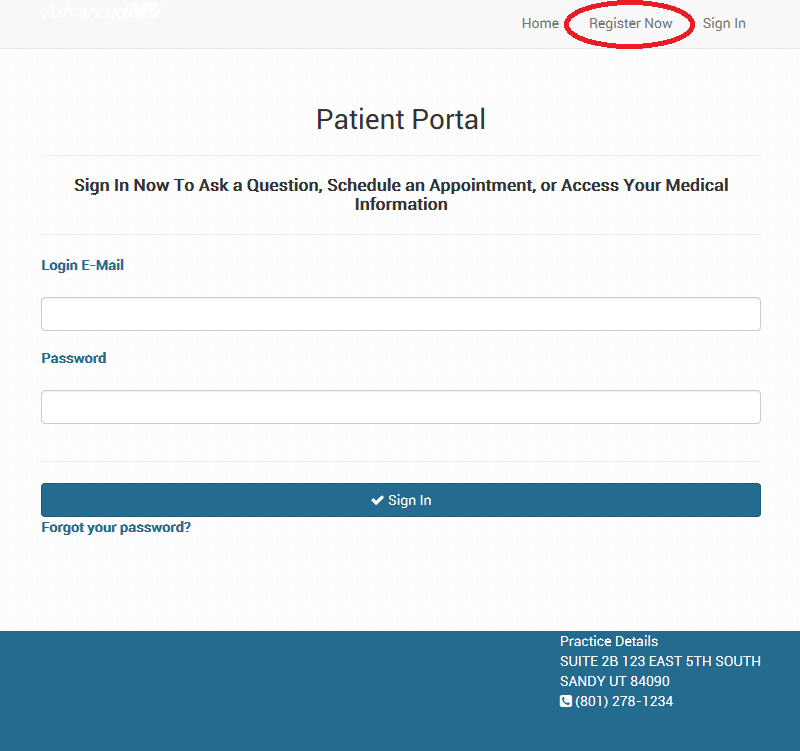
3. Once complete, the patient can visit your patient portal and click the "Register Now" link at the top of the page.
4. The patient will then be asked to answer some questions. They should enter their name (Last name,First Name), the e-mail address you just entered into the patient information screen, and then they will create their own password and security question. The password must be at least 8 characters long and contain one capital letter, number, and special character (!,@,#,$,etc.). Some example security questions are: Where were you born? What make was your first car? What is the first name of your best friend? What is your pet's name?
5. After this is complete, the patient must enter one of the three identity questions. They do not have to answer all of the questions, only one.
6. Finally, the patient must click the link "terms and conditions" to read the terms and conditions. Once they have read these, they can click "Close" and then check the box indicating that they agree to the terms and conditions.

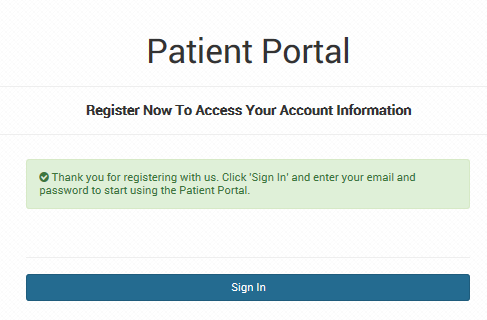
7. When the patient clicks "Register", they will see a confirmation page. They should now click the "Sign In" button to sign into the portal with the e-mail address and password they just created.